


This is a must-read post for every Flipkart Seller. If you’re a new seller on the Flipkart platform, learning the Flipkart seller dashboard should be your top priority. Deep knowledge about the platform helps your business run smoother and with fewer glitches.
From order processing to marketing, I will take you through the important tabs inside the Flipkart seller platform.
If you want to become a seller on Flipkart, and setup your online business, check out my post on how to start business on Flipkart
List of topics covered in the Flipkart seller dashboard tutorial –
- Flipkart seller Home Tab
- Flipkart Listings Tab
- Flipkart Orders Tab
- Flipkart Payments Tab
- Flipkart Growth Tab
- Flipkart Reports Tab
- Flipkart Advertising tab
- Flipkart Seller Assistance
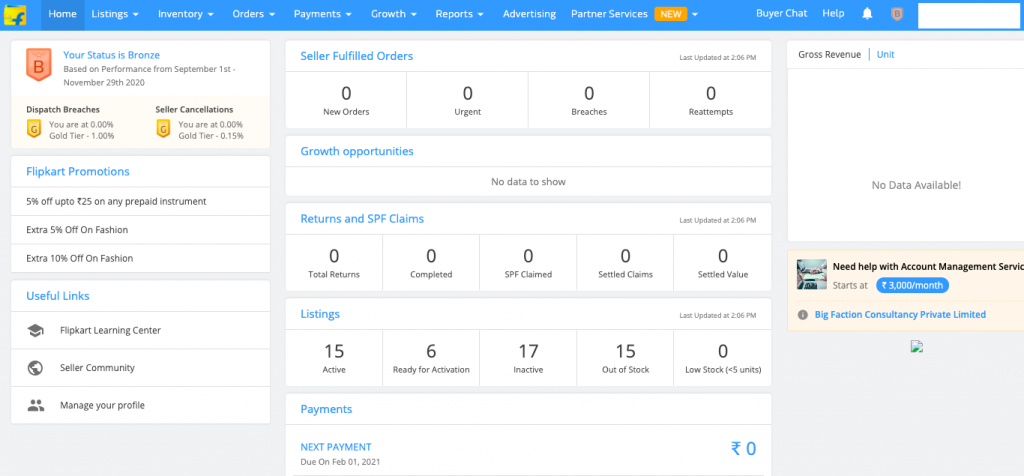
Flipkart seller Home tab:
This is the default tab that you will come across after you have successfully logged inside the panel. It will give you a quick snapshot of your online business on a daily basis and answers your concerning questions. Following are the list of indicators covered in the tab –
- The number of orders received.
- The number of returns and SPF claims.
- Listing status – active, inactive, or out of stock.
- Seller status – Bronze, Silver, or Gold.
- Gross revenue.
These indicators are enough to give you a glimpse of the direction, your business is heading towards. Check the image for reference –

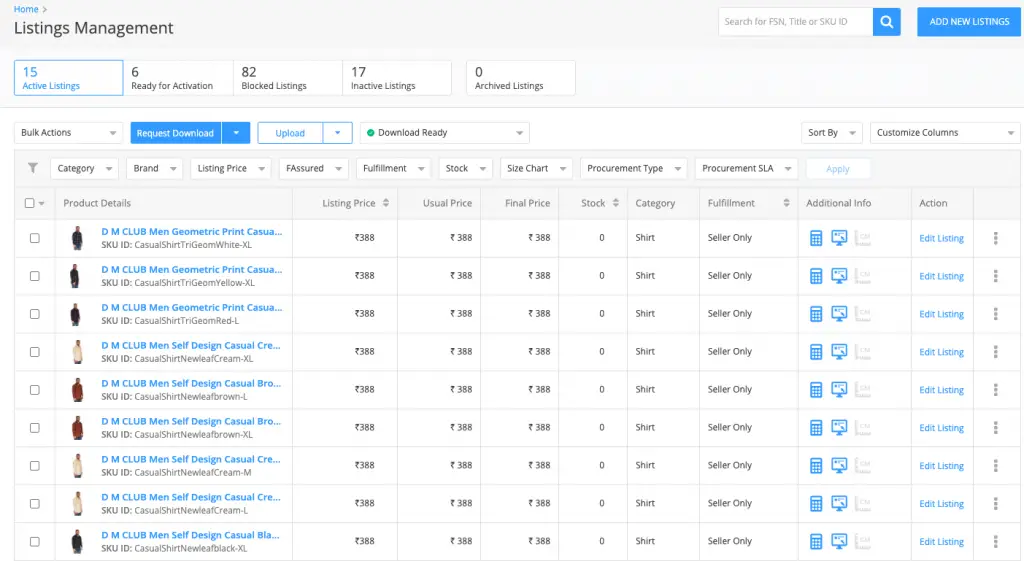
Flipkart Listings tab:
The Flipkart listing tab is the heart of the Flipkart seller dashboard. This is where things get done. From listing your products to updating price and inventory, this is the holy grail of Flipkart sellers. Its menu consists of the following –
- My Listings
- Add New Listings
- Track Approval Requests
- My Audits
- Opportunites
My Listings will show you your listings on Flipkart with complete details. You can check the price, check the listing status, check the profit/loss you will be making on each sale. Also, you can add a new variant to your live listings under this tab.

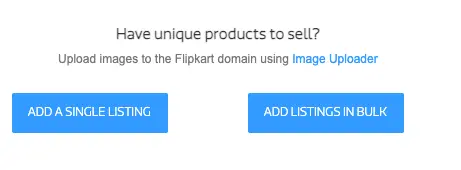
Add New Listings is the tab for adding Flipkart listings in bulk or to add just a single listing.

Track Approval Requests comes prior to adding a fresh listing for brand approval, this is where the brand or the distribution rights of sellers are verified. Next is My Audits which is reserved for Flipkart Audit at the seller’s warehouse and opportunities shows the lists of products in demand across the Flipkart platform.
To know more about Flipkart seller dashboard tutorial, watch my video on it –

Flipkart Orders tab:
Everything you need to know about your orders is listed inside this tab. From the status of your orders to managing the order returns. This tab will give you a detailed insight into the same.


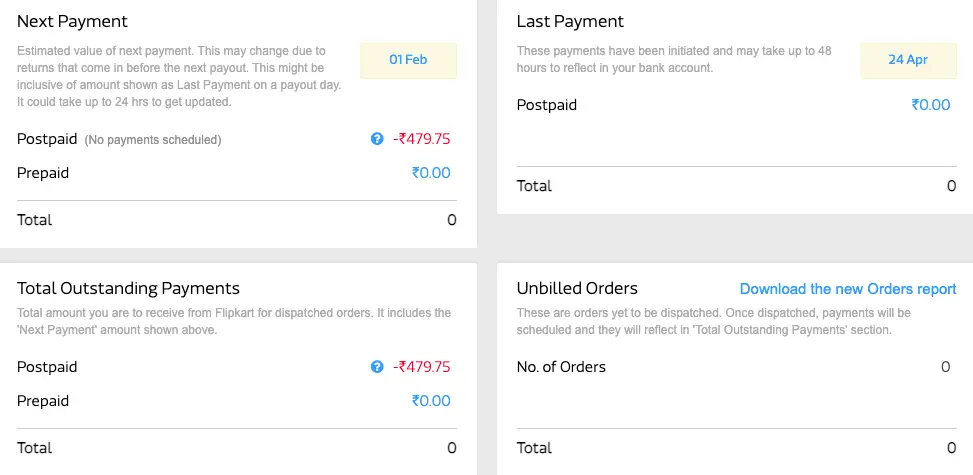
Flipkart Payments tab:
As the name indicates, this tab is for tracking your payments done by Flipkart on your account. It contains a ledger of your Flipkart account with the following menu –
- Payments Overview
- Previous Payments
- Transactions
- Invoices
- Statements
From payments overview to tracking the status of payment of each order processed by Flipkart, you can go in-depth into this tab to check your gross revenue and profitability.

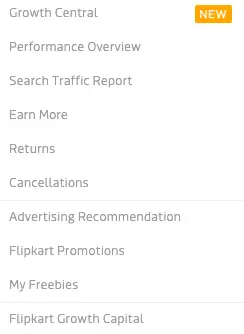
Flipkart Growth tab:
Want to know how well you’re performing on Flipkart? What is your performance look like? How many people are finding your products on the platform? How can you sell more? Which Flipkart promotions should you opt-in for?
Answers to all these questions are inside this tab. Flipkart seller growth tab is created for sellers to boost the business to the next level. It helps the sellers in getting hold of the situation and provide valuable insights on how to grow business on the platform.

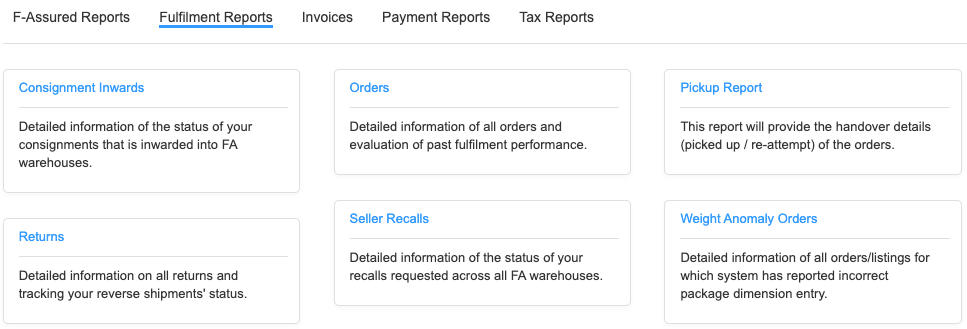
Flipkart Reports tab:
All your reports in one place. Flipkart reports tab will provide you with the much-needed financial report from invoices to tax reports. It will also provide you with a better picture of the profits you’re making on the platform.

Flipkart Advertising tab:
Flipkart advertising is the place where you can boost your sales by paying to the platform for better visibility. Just like Amazon advertising, Flipkart advertising works the same. As a Flipkart seller, you need to choose the set of products, you would like to market on the platform and then pay to the platform for getting more eyeballs. Advertising works on CPC or cost per click basis. You will be charged when the user clicks your sponsored listing on the platform. It’s an effective way to generate revenue.


Make sure to calculate the outcome in terms of net profits before you opt-in for Flipkart advertising.
Flipkart Seller Assistance:
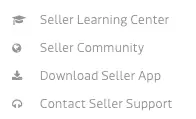
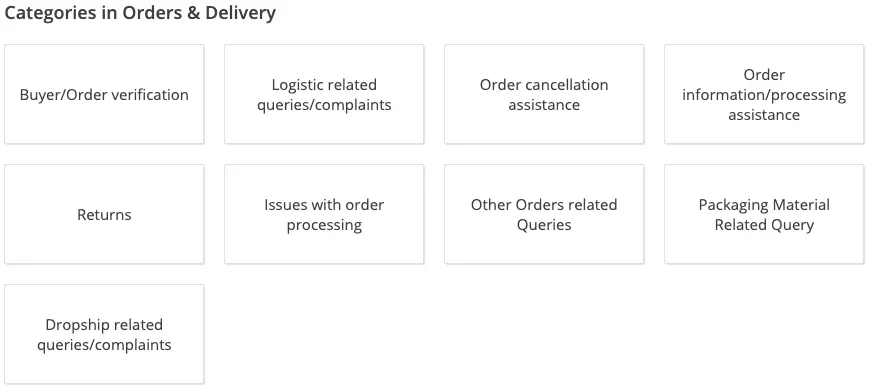
You will be needing the help of the Flipkart support team from time to time. In order to avail the services of the Flipkart support team, seller is required to raise a ticket inside the panel by clicking the 3 dots option on the top right-hand side and clicking the “Contact Seller Support” option from the menu.

Once done, you will be greeted with a screen with specific tabs including the “My Tickets” button for checking the status of previously raised tickets. Click on the most relevant tab, post which you will see a set of questions related to the topic of your concern. If you’re not satisfied with the predefined answer, you can go ahead and submit a new ticket. Once submitted, it will take Flipkart 1-2 days to revert back.


That’s all about the Flipkart seller Dashboard tutorial. In the next post, I will take you through the process of brand approval on Flipkart. Check out all my posts on Flipkart for sellers and please do remember to Sign up to receive my monthly newsletter.
[post_grid id=’5323′]


Paras is a blockchain writer & video creator at Katoch Tubes. In his free time, he loves watching space exploration documentaries & Hollywood movies.